After a number of delays, I finally got the EW panel completed!
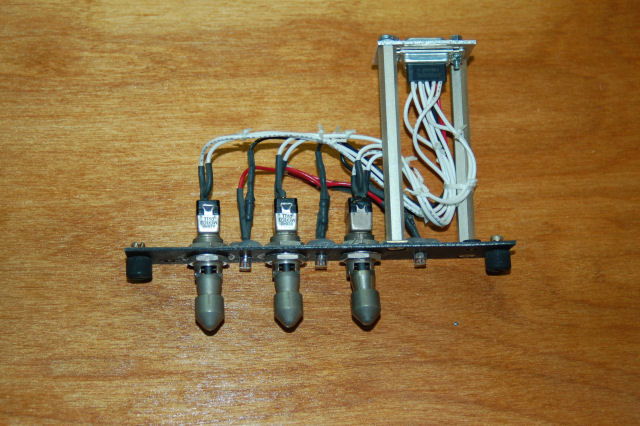
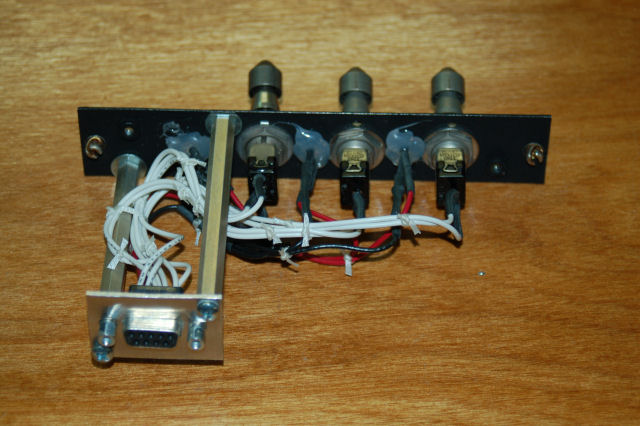
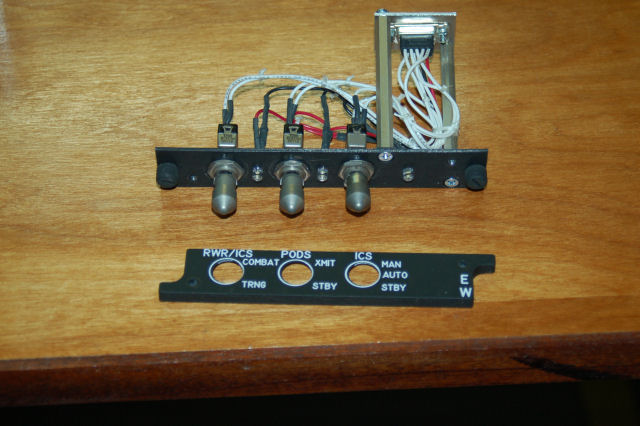
Here’s what the panel assembly looks like:
You’ll notice that I’ve abandoned the tiny nylon wire ties in favor of waxed lacing cord. It looks a _lot_ nicer and much more “authentic”. Waxed lacing cord is used on “real” panels in both commercial simulators and flying aircraft.
This is the first panel where I’m using LED lighting. I’m using three “warm white” 180 degree FOV LEDs to illuminate the panel with. This allows me to skip the PCB that would be normally present to hold the 5v grain of rice bulbs that are used to illuminate a Type 5 panel. Each LED is held in place with hot glue. Not the prettiest method, but it gets the job done.
This panel is just a tad bit “under-lit”. I only used 3 LEDs where it probably would’ve been better if I had used 4 or 5 of them. This panel is (so far) the most expensive from-scratch panel I’ve built. The three switches were north of $40 each!
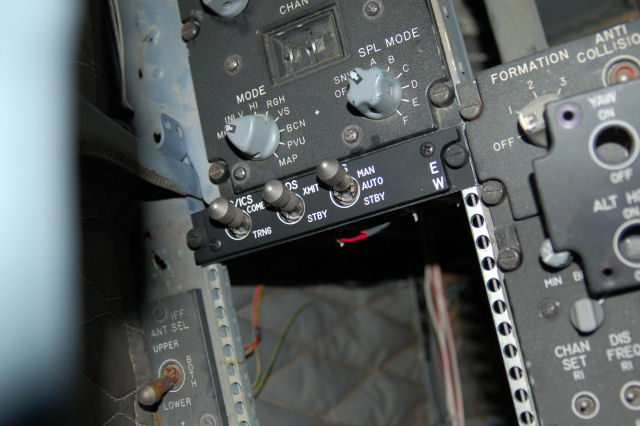
Here is where the panel lives! The panel directly above is the APG-70 radar control panel and the formation light and radio panels can be seen to the right.
There are only two panels left that I need to build from scratch – the AAI and FDL Mode Control panels. I’m excited. 🙂
In doing some digging, I found out a little bit about the PODS switch.
The PODS switch controls any external jamming pods that are mounted to the F-15. For the attached pod to operate, the PODS switch must be in the XMIT position and there must be no weight on the wheels.
Comments



LAB on 04.08.2010
So cool project….. Great work
Alan McCall on 04.20.2010
Nice job on the work being done.
My wife and I were at Soesterberg AB (CNA) the day of the “007” incident and watched the whole thing.
The stabs from 007 ended up on a couple of new Saudi F15’s built in the early 80’s , about 1983. Saw them when I went through the factory in St. Louis.
admin on 04.20.2010
That’s neat! Thanks for relating that.
g.