2in. Gauge design is complete and tested.
So the printed circuit boards mentioned in the previous entry have been put to work!
The gauge shown here is the core that I’ll build the six 2″ engine gauges out of.
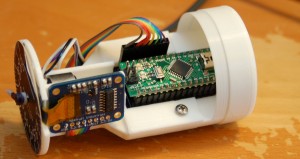
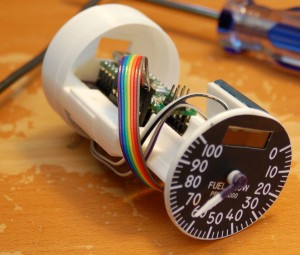
Here’s what the gauge looks like on the inside. All the plastic components (the white bits) are 3D printed on my SeeMeCNC Rostock MAX v1, Orange Menace.
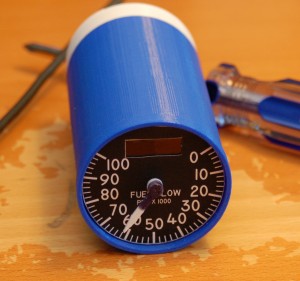
Here’s how it looks with the “test” case on it:
Finally, here’s a short video of the gauge in operation:
Once I have the time, a properly sized case will be printed (the blue one is too short) and I’ll get a good laser engraved face on the gauge.
It’s coming along! 🙂
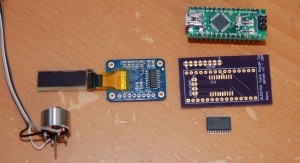
[Here are the gauge electronic components, sans header connectors]


